Estimating
How to measure siding: wall by wall, opening by opening
Siding is measured the same way every time, and skipping a step shows up later as either a shortfall of material or a truckload of unreturnable panels. Here is the reliable order of operations.
October 7, 2026 7 min read
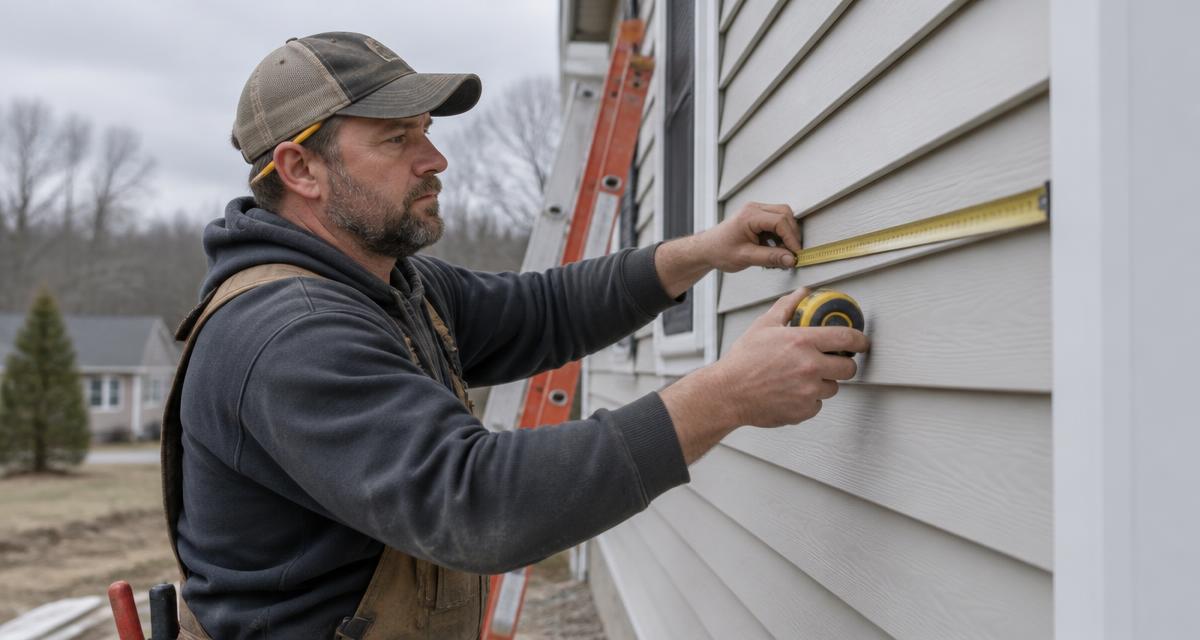
Siding estimating is one repeated calculation: width times height, wall by wall. The contractors who get burned are not bad at arithmetic — they lose track of which walls they have measured and which they have not.
1. Sketch the house, then measure the perimeter
Draw the footprint as a simple outline and number each wall. Then measure each wall's length at the base of the siding, not at the roofline — the roofline is longer on a house with overhangs and gables. Write the number on the sketch as you take it.
2. Get the height where the siding actually ends
Height is from the finished floor or foundation top to the underside of the soffit, fascia, or trim board that caps the siding. On a two-story, that is two runs of wall. Measure at a corner and at the far end of the wall and use the average — houses settle, and a six-inch difference over forty feet is two-thirds of a square.
3. Gross area, then subtract openings honestly
Multiply each wall's length by its height and add the walls together. Then subtract windows and doors. Measure each opening's width and height and multiply — a 3-by-5 window is 15 square feet, a 9-by-7 garage door is 63. Keep a running list; do not eyeball the total.
A common shortcut is to deduct a flat allowance for openings. It works on a house with a typical number of windows and quietly under-counts a wall of glass. When in doubt, subtract what you measured.
4. Gables, dormers and the tricky shapes
- Gable end: half the base times the height from the eave line to the peak.
- Dormer faces: rectangle plus the small gable on top.
- Tapered sections: break them into a rectangle and a triangle rather than guessing an average.
- Under a steep roof, the wall behind the soffit is taller than it looks from the ground — measure it or you will be short.
5. Convert to squares and add waste
Net wall area divided by 100 gives you squares. Add about ten percent for cuts and mistakes on a typical house; more on one with many corners, dormers, or a complicated roofline. Order by exposure, not just area — a panel's coverage width times its length is what you are actually buying.
Siding panels are usually returnable if unopened and in the same lot, but color lots vary. Order the whole job from one production run and keep the receipt in the job folder.
6. The accessories priced by linear foot
- Corner posts: total vertical corner inches, plus a spare.
- Trim, J-channel, H-strips and utility trim: count the runs, then add ten percent for miters.
- Soffit and fascia: measured separately from the walls, in squares and linear feet.
- Sill receivers, start strips, and flashing at every penetration.
- Ventilation: soffit vents, gable vents, and the openings you have to cut.
Accessories are where siding jobs leak money. A house can need two hundred linear feet of trim and a crew that priced forty.
7. Write the assumptions on the quote
Note what you measured from — a sketch, photos, or a plan — and what you assumed about exposure, wall heights, and the number of trim runs. When a customer asks why the price moved after you got on the roof, you have an answer that isn't a guess.
Older homes: for houses built before 1978, disturbing painted surfaces falls under federal lead-safe work practices and may require a certified firm. Check before you quote a tear-off.
Turn this into a quote in minutes
Describe the job in plain English and Quote Genius drafts the line items, then builds a contract with your state's deposit limits and required notices.